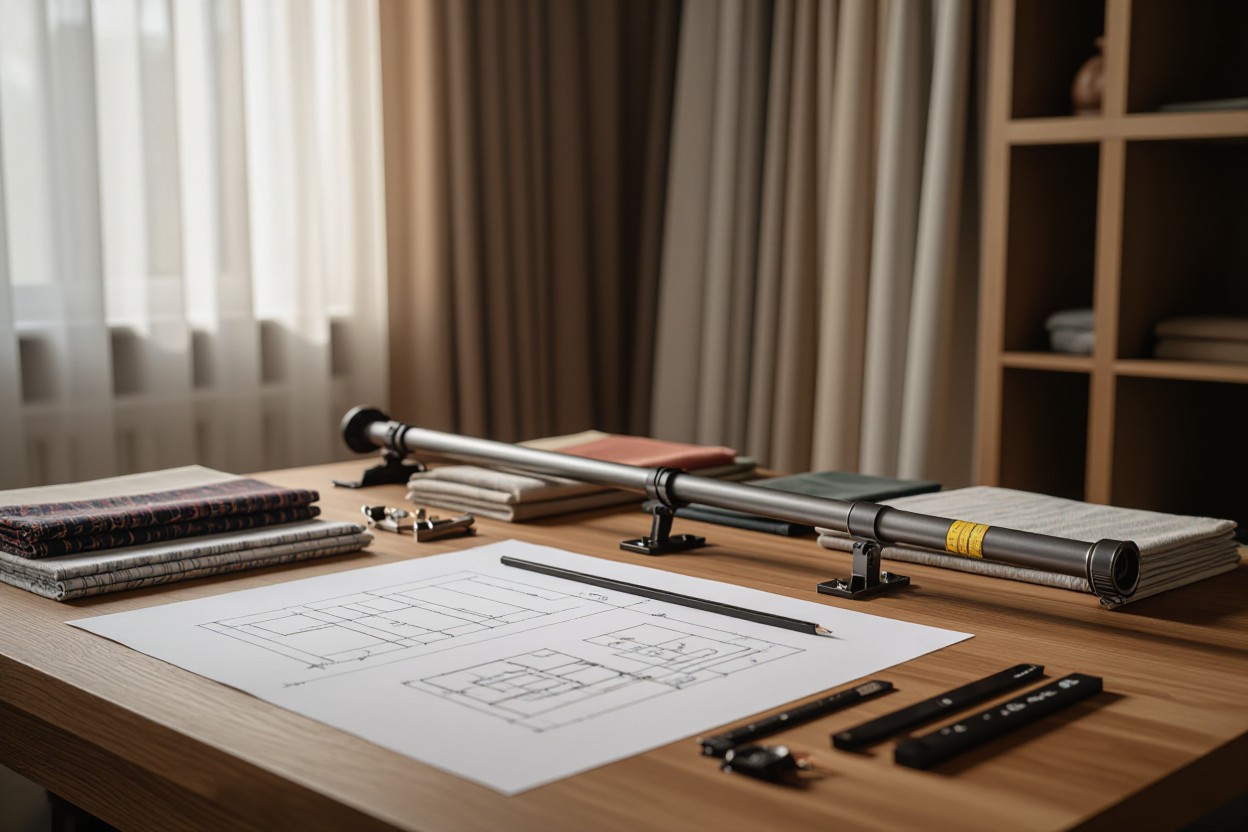
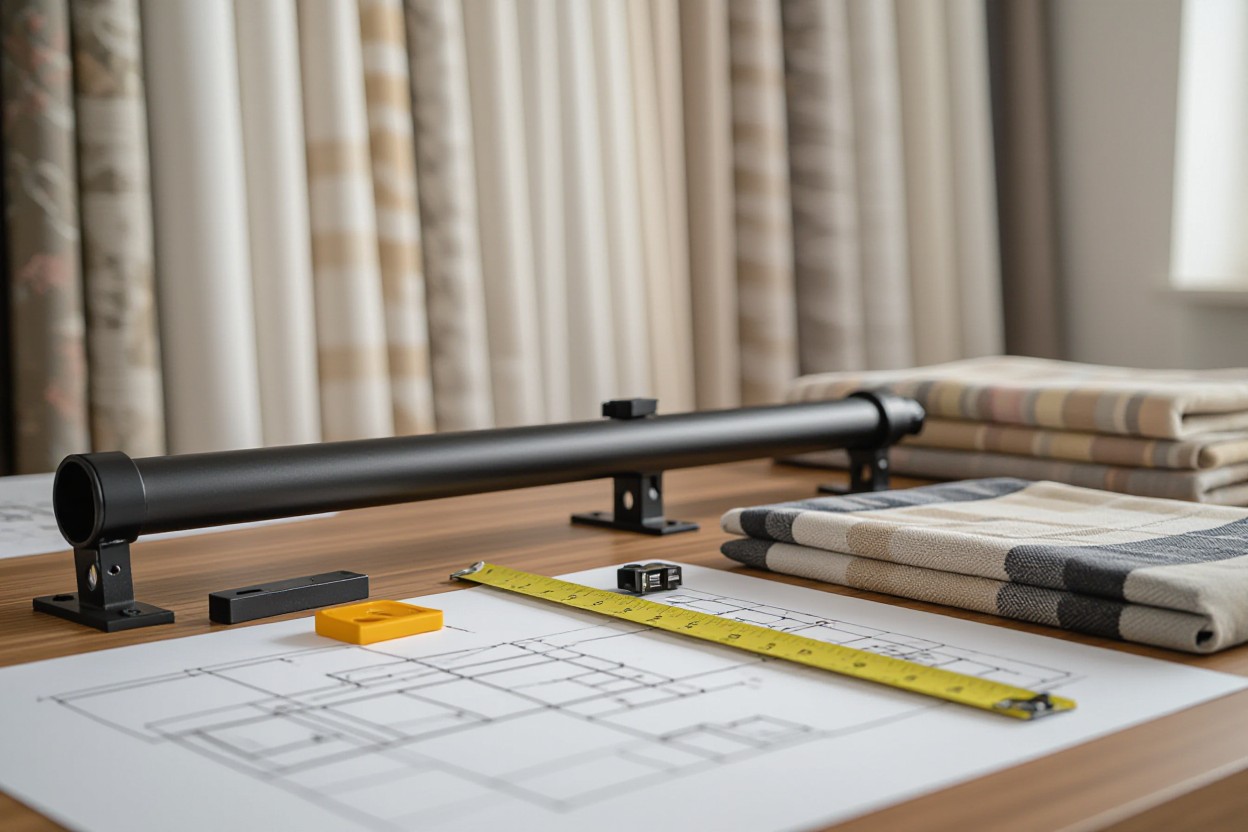
Metal curtain poles are an
necessary part of interior design, giving your windows both form and function. You rely on them for
support of curtains and to set a room's tone;
metal poles combine lasting durability and stylish finishes that suit modern and traditional interiors. Ensure proper sizing and secure fixing to avoid
dangerous failures with heavy drapes. Explore our full range of metal curtain poles.
Curtain Poles: The Backbone of Stylish Interiors
Pole systems carry your curtains and shape the room’s silhouette, so you choose not just a support but a design element that affects light, proportion, and movement. Metal poles deliver both
lasting strength and finish options—chrome, brass, matte black—so you can match minimal or ornate schemes. Select the right diameter and bracket layout and you’ll avoid sag, improve stackback, and ensure smooth operation for everyday use.
Defining Curtain Poles and Their Role
Curtain poles differ from tracks by being a visible design feature that works with rings, eyelets, or gliders to create intentional stackback and finish; tracks are recessed for a seamless, motorisable solution. Poles must support the curtain weight, control how fabric hangs, and coordinate with finials and brackets, so you evaluate both function and style when specifying lengths, overlap, and mounting height for your window treatment.
Metal Poles: The Gold Standard in Functionality and Design
Metal poles—typically stainless steel, brass, or aluminium—combine rigidity with refined finishes, making them the go-to choice for most interiors;
28mm suits standard curtains while
35mm handles heavier, lined drapes. Corrosion-resistant options and powder-coated finishes mean you get both longevity and consistent appearance, whether you’re fitting a small sash window or a full-height lounge bay.
For practical decisions, space brackets every
60–90cm and add a central support for spans over
2.5–3m to prevent sagging; use joiners or extensions for lengths beyond standard pole sizes and plan for overlap of
15–20cm each side to block light. Choose 28mm for cotton, linen, and voile layers, and upgrade to 35mm for velvet, heavy thermal linings, or multilayered treatments—combine with matching finials (ball, spear, crystal) and rings or eyelets to suit your styling and curtain fullness of
1.5–2x.

Metal Curtain Poles: Navigating Styles and Finishes
Metal curtain poles let you match structural strength with visual intent: choose
28mm poles for most rooms and
35mm for heavy drapes or full-length blackout curtains. Finishes—chrome for reflectivity, brass for warmth, matte black for contrast—change how light plays in the room and how much maintenance your pole needs. You should align finish with existing hardware and prioritize
load capacity and bracket placement to avoid sagging over time.
Comparing Materials: Wood vs. Metal
Metal outperforms wood for straightness and load-bearing: a 35mm steel pole supports layered curtains and lined blackout sets, while wood gives a softer, traditional look but can warp in humid rooms. You can paint wood to match trim, but metal keeps its shape and slimmer profile for contemporary windows. Factor in your room’s humidity and the curtain weight when deciding.
Wood vs Metal: Quick Comparison
| Wood |
Metal |
| Warm, traditional appearance |
Modern to industrial finishes (chrome, brass, matte black) |
| Lower load capacity; can warp |
High load capacity; holds 28mm–35mm and above |
| Best for period homes and painted trims |
Best for heavy drapes, eyelets, and modern schemes |
| Requires periodic sanding/painting |
Low-maintenance; powder-coat or plated options |
| Typically mid-range cost |
Range from budget steel to premium solid brass |
Exploring Finishes: Chrome, Brass, Matte Black, and More
Chrome provides a mirror-like, modern finish and suits bathrooms and kitchens because it resists corrosion, while brass—available polished, brushed, or antique—adds warmth and can gently patina over years. Matte black gives dramatic contrast and hides bracket joins in contemporary spaces. You can pair chrome with stainless fixtures, brass with warm woods, and matte black with pale linens;
finish choice affects cleaning routine and long-term appearance of your pole.
Electroplated chrome looks brilliant but shows water spots; brushed and satin finishes conceal fingerprints and light scratches. Powder-coated and textured finishes deliver excellent scratch resistance and come in many tones, while lacquered brass maintains shine with minimal upkeep compared with unsealed brass that will patina. When layering sheers and heavy drapes, pick a finish that complements both your primary fabric and your room’s metalwork to keep the scheme cohesive.
Size Matters: How to Choose the Perfect Curtain Pole Diameter
Pick the pole diameter that matches your fabric and span:
19mm for lightweight sheers,
28mm for most standard curtains, and
35mm for heavy, lined or floor-to-ceiling drapes. Check bracket spacing and fixings as well — overloading a slim pole can bend it or pull brackets from the wall, so
never exceed the pole’s load capability and add extra brackets for wider runs.
Standard Sizes Explained: 19mm, 28mm, 35mm
19mm suits voiles and lightweight eyelets where minimal bulk is wanted; 28mm is the industry standard for pencil pleat, eyelet and tab-top curtains across most rooms; 35mm handles heavyweight fabrics like velvet, thermal-lined blackout curtains and long spans. Typical pole lengths reach ~3m before you need a joiner; choose 35mm if you anticipate
large spans, heavy linings, or frequent handling.
Selecting the Right Size Based on Curtain Weight
Classify your curtains as lightweight (sheer/net), medium (cotton/linen, single-lined) or heavy (velvet, blackout with interlining). You should choose 19mm for lightweight only, 28mm for medium fabrics up to standard widths, and 35mm when curtains are heavy, layered, or you expect regular use. Fit brackets closer together for heavy fabrics—about every
60–75cm—to avoid sagging.
Estimate weight by multiplying fabric GSM by curtain area: for a 2.5m wide × 2.4m drop curtain in 250gsm fabric, weight ≈ 250×(2.5×2.4)/1000 =
1.5kg; add 20–30% for linings and headings, and then apply fullness (1.5–2.5× width). If the final weight per pole approaches or exceeds ~
6–8kg, upgrade to 35mm and specify heavy-duty brackets and wall anchors to ensure long-term performance.
Accurate Measurements: A Step-by-Step Guide to Curtain Pole Sizing
| Accurate Measurements: A Step-by-Step Guide to Curtain Pole Sizing |
| Step |
Detail |
| 1. Measure window width |
Take the widest of three readings (top, middle, bottom) to the nearest mm; use recess or reveal measurement depending on mounting style. |
| 2. Add overlap |
Add 15–20cm each side for light control and aesthetics; increase for heavier drapes or minimal stackback. |
| 3. Measure drop |
Measure from the chosen pole fixing (wall or ceiling) to sill or floor; allow 1–2cm clearance from floor for sweeping curtains. |
| 4. Choose diameter |
Select 28mm for standard curtains, 35mm for heavy or luxury fabrics; thicker poles reduce sag on long runs. |
| 5. Bracket spacing |
For runs under 200cm space brackets at 100–120cm; for heavy curtains or >200cm use extra brackets at 60–80cm and a central support. |
| 6. Bay & wide runs |
Measure each face separately, allow corner adaptors/joiners and returns, and plan for additional supports at angles and long spans. |
Measuring Your Window: Techniques and Tips
Take three width readings (top, middle, bottom) with a metal tape and use the largest; measure drop from the pole fixing point to the floor or sill and note any obstructions like radiators or handles. Record measurements in millimetres and round up to the nearest 5mm for accuracy. Use a spirit level when marking bracket positions to avoid a sloping pole. Assume that you add an overlap of
15–20cm per side and factor in
curtain fullness of
1.5–2x.
- Measure Width — three points, use largest
- Measure Drop — from fixing to floor/sill, allow 1–2cm clearance
- Allow Overlap — 15–20cm each side
- Account Fullness — typically 1.5–2x fabric width
- Bracket Spacing — every 100–120cm (more for heavy curtains)
Special Considerations for Bay and Extra-Wide Windows
Measure each bay face individually and capture the angle between them; for a three-panel bay you might measure centre 180cm and sides 90cm at 45°, then add overlap per face. Use bay pole kits or angle adaptors to maintain a continuous pole line, and choose at least a
28mm pole for standard bay drapes or
35mm for layered/heavy setups. Install extra brackets at corners and every 60–80cm on long runs to prevent sagging.
For long spans over 3m, plan for a central support and consider a joiner rather than a single cut pole to ease installation; a 4m run split into two
2m sections with a reinforced joiner and a centre bracket will eliminate visible deflection. When fitting to plasterboard, use chemical anchors or metal toggle bolts at corner fixings to handle the downward load of heavy curtains—on a typical 3.5m bay with heavy lined curtains, expect loads >10kg, so anchor choices matter. Finally, account for stackback: if you need minimal covered glass, position brackets so the curtains stack clear of the window (roughly
10–20cm extra per side) and test with sample fabric before final drilling.
Elevate Your Décor: Curtain Pole Finials and Accessories
Finials and fittings transform a functional pole into a design statement: choose a crystal ball for glam, a spear finial for period rooms, or a minimal cap for modern spaces. Pair finishes like
brushed steel, brass, or matte black across finials, rings and brackets so the hardware reads as one. Match pole diameter (19mm, 28mm, 35mm) to finial scale and confirm thread or push-fit types so your chosen accessories
fit securely and perform reliably.
Understanding Finials: What They Are and Why They Matter
Finials cap the ends of your pole, acting as both a decorative flourish and a functional stop to
prevent rings or curtains slipping off. Sizes should be proportional: small domes suit 19mm poles, medium ornaments for 28mm, and bold finials for 35mm. Materials range from solid brass and crystal to zinc alloy; pick one that matches the room’s metal palette and ensures the finial screws or clips on with no wobble.
Matching Accessories: Brackets and Rings for Seamless Style
Brackets secure pole alignment and determine load capacity: space them about
100cm apart for lightweight curtains and every
50–75cm for heavier drapes. Rings and gliders spaced ~8–12cm produce even pleats and smooth tracking. Choose bracket projection (10–15cm) to clear cornices and select rings that match your pole finish to keep the look cohesive while ensuring function.
Choose bracket types to suit your installation: single wall brackets for standard windows, double brackets for layered curtains, and cranked brackets for bay or recess fits. For a 3m span with 35mm poles, plan on
4 brackets (ends + two centers) and rings every 10cm; use heavy-duty brackets and a central support if you’re hanging lined or weighted curtains to avoid sagging. Split rings, runner rings, and clip rings offer different fixing methods—pick the style compatible with your curtain heading (eyelet, pencil pleat, or tab).
Installing Curtain Poles: DIY or Call the Pros?
You can fit most standard metal poles yourself in
30–90 minutes with basic tools, saving on labour, but call a pro for bay windows, masonry walls requiring chemical anchors, or setups supporting >20 kg of fabric. Typical professional rates run about
£60–£150 / $80–$200</strong). Mistakes like hitting electrical cables or using the wrong fixings can cause damage and unsafe failures, so weigh your confidence against the room’s complexity and the curtain weight.
A Beginner’s Guide to Installation: Tools and Techniques
Gather a drill with 6mm and 8mm bits, a spirit level, tape measure, stud finder, Phillips screwdriver, and appropriate wall plugs or toggle anchors; use M5–M6 screws for most brackets. Mark brackets level and spaced—three brackets for a 2m pole, spacing
100–150cm for heavier 35mm poles, 120–150cm for 28mm. Pre-drill pilot holes, fix centre support first, then outer brackets, and slot the pole in before tightening finials to avoid bending.
Ensuring Safety and Stability for Heavy Curtains
Heavy velvet or lined drapes can load a pole with
8–20 kg or more, so choose a 35mm pole, heavy-duty brackets, and fixings rated to the load; anchor into studs or use metal toggle anchors for plasterboard, and chemical or resin anchors for solid masonry. Use at least three brackets for widths over
160 cm and add a centre support to limit sagging and long-term wear on fixings.
Specify screw length of at least
60 mm (M6) for timber studs and use toggle bolts or hollow-wall anchors rated >30–40 kg for plasterboard. For brick or concrete, use resin anchors or 8mm rawlplugs with matching screws; space supports so deflection stays under
20 mm on a loaded pole. If you plan a double-pole stack, install separate brackets for each track to distribute weight evenly and avoid twisting the fittings.
Final Words
On the whole, this guide equips you to choose, style, and install the perfect metal curtain pole for any room, balancing durability, finish, and size to suit your curtains and décor; follow the measuring and installation steps, pick the right diameter (28mm for standard, 35mm for heavier drapes), and match finials and fittings to your style so your windows look polished and perform well — explore our full range of metal curtain poles to find the ideal option for your space.
FAQ
Q: How do I choose between 28mm and 35mm metal curtain poles?
A: Choose by curtain weight, window width and aesthetic. 28mm poles suit most standard curtains, voiles and medium-weight pencil or pinch-pleat styles — they look proportional on average windows and fit many eyelet sizes. 35mm poles are better for heavy, lined or luxury drapes, wide spans and when a bolder profile is desired; they resist sag over longer runs. For very lightweight sheers consider 19mm. For spans over about 240–300cm use centre supports or joiners regardless of diameter; for very heavy drapes fit extra brackets and, if needed, step up to a thicker pole or a commercial-strength option.
Q: How should I measure for a curtain pole — step-by-step?
A: 1) Measure the visible window frame width. 2) Add overlap: 15–20cm each side (so total add 30–40cm) to allow curtains to clear the window fully when open. 3) Factor curtain fullness: multiply fabric width by 1.5–2× for gathered styles; this affects how many tracks/rings you need, not the pole length. 4) Choose pole length equal to window width + side overlap. 5) Measure height: decide pole position above the frame (typical 10–20cm above) and check drop so curtains clear the sill or floor. 6) For bay windows measure each face and return separately and plan joiners or curved corner fittings; for very wide runs consider telescopic or joined poles with centre brackets. Example: 120cm window + 2×15cm overlap = 150cm pole length.
Q: Can I cut a metal curtain pole to size and how should I do it safely?
A: Yes. Telescopic poles adjust without cutting; fixed poles can be cut with a fine-toothed hacksaw, metal-cutting blade or angle grinder. Steps: measure twice and mark cut line, clamp pole securely, cut slowly to avoid distortion, file/deburr the cut edge, refinish if needed and fit an end cap or finial. Use PPE (glasses, gloves, mask), work on a stable bench and support long poles to prevent binding. If unsure, use joiners or buy a custom-length pole or a telescopic option to avoid cutting mistakes.
Q: How many brackets do I need and what tools are required for DIY installation?
A: Minimum is two brackets (one each end). Recommended spacing: for light to medium curtains position brackets no more than 120–150cm apart; for heavy curtains reduce spacing to 90–120cm and add a centre support for spans over ~180–240cm. Always add extra supports at joins and for long overhangs. Tools: tape measure, pencil, spirit level, drill with appropriate bits, wall plugs matched to wall type (masonry, plasterboard anchors or coach screws for timber studs), screwdriver, hacksaw/file for cutting, ladder, safety goggles and a studfinder if available. Fix brackets level, use suitable heavy-duty anchors for hollow walls or secure into studs for heavy installations.
Q: Which finials, fittings and styles work best with metal curtain poles, and can I layer curtains?
A: Finials set the tone: ball, spear and crystal suits traditional looks; streamlined cylindrical or minimal caps suit modern rooms. Finishes to match other hardware include chrome, brass, satin nickel, matte black and aged antique. Fittings: choose rings with clips or eyelet-compatible poles, gliders for smoother movement, and matching bracket styles for a unified look. For layering use a double pole (inner for voiles, outer for drapes) or combine a slim inner track with an outer metal pole; allow about 2–5cm clearance between layers so fabrics don’t rub. For heavy layered treatments ensure the supporting pole and brackets are rated for combined weight and use centre supports on wide runs.